Life After Ballymaloe is a life phase all past students will absolutely experience after leaving The Bubble. Darina and Rory forewarned their voices would fill our thoughts as we went about our lives. Which I had a hard time believing, but they knew better.
Darina's voice fills my head when waste occurs in the kitchen. Imagine, Darina shouting across kitchen two, her hands waving wildly over her head holding the thrown out lemon destined to the hens "This thrown out lemon is the difference between your vacation in the Canaries or not!!"
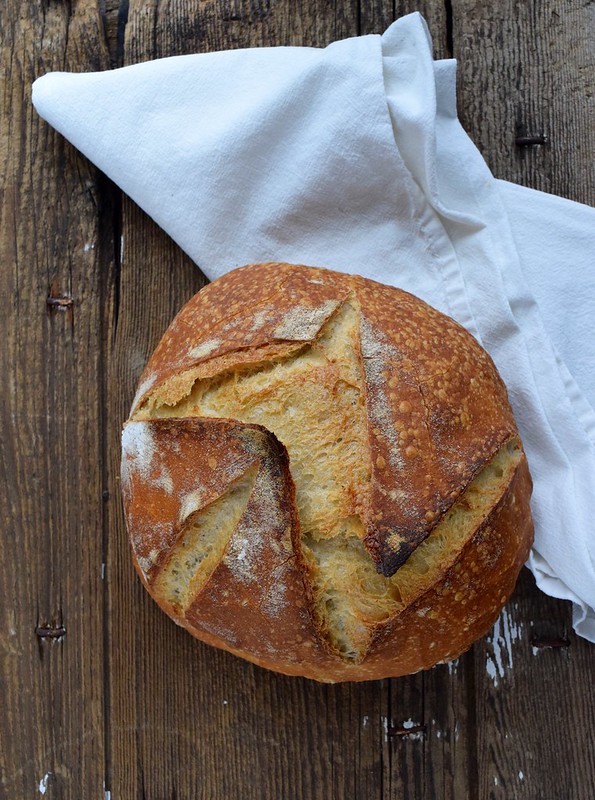
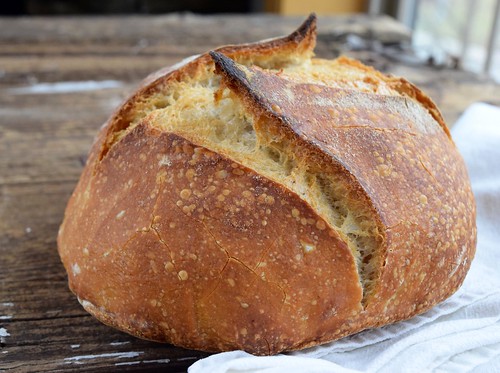
As I peruse Rory's recipes, creating menus for dinner parties and family meals, his suave elegance resonates through his writing. There are so many Ballymaloe recipes I want to share with you, so I'm going to start writing about some of my favorites. One recipe that easily can be a mainstay in every home kitchen is the maintaining of a sourdough starter and baking of Sourdough Bread.

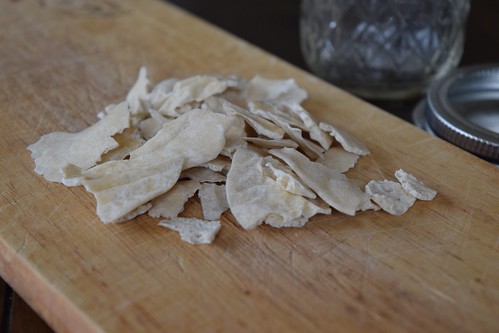
Upon leaving Ballymaloe, I had the foresight to dry granules of Ballymaloe's sourdough starter in Sharon's drying cupboard (past students, you know what I'm talking about!).
Which then reconstituted by following the sourdough starter method below when I returned home. Now the sourdough I bake at home has that old world sourdough tangy, yeasty flavor.
In the past, I was played for a fool by purchasing dried granules online. No! Don't do it! You don't need dried granules or someone's scam from the internet!
You can create your own at home, like this...
You can create your own at home, like this...

Beginning your own Sourdough Starter:
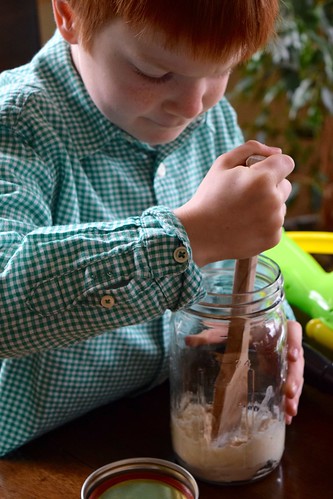
Day 1: Measure 1/4 cup flour and 1/4 cup filtered water into a tall wide-mouthed jar, stir vigorously with a wooden spoon to incorporate air into the jar. Air contains the yeast in the atmosphere needed to culture the mixture into sourdough. Cover loosely with a lid, not too tight, you need air exchange. Store at room temperature.
Day 2: Measure 1/4 cup flour and 1/4 cup filtered water into a tall wide-mouthed jar, stir vigorously. Cover loosely. Store at room temperature.
Day 3: Measure 1/4 cup flour and 1/4 cup filtered water into a tall wide-mouthed jar, stir vigorously. Cover loosely. Store at room temperature.
Day 4: Measure 1/4 cup flour and 1/4 cup filtered water into a tall wide-mouthed jar, stir vigorously. Cover loosely. Store at room temperature. By this time you should start to see air bubbles forming on the surface about an hour after you feed the mixture — this is good — it means the starter is actively fermenting.
Day 5: Measure 1/4 cup flour and 1/4 cup filtered water into a tall wide-mouthed jar, stir vigorously. Cover loosely. Store at room temperature.
Day 6: Measure 1/4 cup flour and 1/4 cup filtered water into a tall wide-mouthed jar, stir vigorously. Cover loosely. Store at room temperature.
Day 7: Your starter should be bubbling and active and is ready to make bread! If your not seeing air bubbles form on the surface, increase feeding times every 8-12 hours.
**If a grey-ish liquid, called hooch, forms on the top of the starter, stir into the jar or pour off, either way is fine. This liquid forms because the starter needs to be fed!
**To maintain your starter, leave at room temperature and continue to feed everyday. For less maintenance, refrigerate and feed weekly.

Printable Recipe Here
Ballymaloe Sourdough Bread
recipe based on Tim Allen's instruction
Yield: 2 loaves
DAY 1
DAY 1
To make the sponge:
About 2 cups active starter
1 cup lukewarm filtered water
2 cups bread flour
Beat all ingredients in a large bowl, cover tightly with plastic wrap and place in a warm place overnight.
DAY 2
Add 1 cup lukewarm filtered water and 2 cups bread flour. Beat well and cover tightly. Let stand for 5-6 hours at room temperature. The sponge will be bubbly and active in appearance.
Take out 2 cups of this sponge and put back into your starter jar. Cover and save as the base for your next loaf of bread.
Put the remainder of the sponge (about 4 cups) into a large mixing bowl. This is the base of your sourdough bread. To this sponge, add:
5 1/2 cups flour
1 tablespoon wheat germ
1 tablespoon rye flour
1 cup - 1 1/2 cups water (depending on consistency you may not need all the water, you want a slightly sticky and a teensy bit shaggy dough)
Cover the bowl with plastic wrap and let rest for 20 minutes. Sprinkle with 2 1/2 teaspoons salt. Knead the dough by hand for 15 minutes or in a machine for 6 minutes — the dough should stretch easily and be slightly sticky. If necessary, knead for an additional 5 minutes.
Cover the bowl with plastic wrap and leave to rise until light and puffy — 6-8 hours at room temperature. Can be refrigerated overnight.
Punch down the dough and pour onto a clean countertop. Cut in half. Allow the dough to rest on the countertop for 1 hour, every 15 minutes use your bench scraper to pull and fold the loaf into a square parcel. This traps air inside the loaf, creating a crumb full of textural bubbles and develops surface tension of the dough. Shape into a round ball.
Dust a cotton towel with rice flour, dump the dough ball onto the flour, wrap up and place into a bread basket or Banneton. Slip inside a plastic bag and refrigerate overnight.
DAY 3
Remove Bannetons from the fridge and allow to rest for 20 minutes.
Place your kettle inside the oven and preheat to 500ºF for 30 minutes.
Turn down the heat to 450ºF.
Gently turn your dough into the hot kettle, slashing the surface of the dough with a sharp knife or razor blade, cover and place into the oven. Spray with a water mister and close the door. Bake for 30 minutes. Take off lid and bake an additional 10 minutes, or until golden brown and hollow sounding when the bottom of the loaf is tapped. Cool on a wire rack.
Want absolute success in sourdough baking? I suggest these tools.
Click on the images to purchase!
 |
| Wide Mouth Jar |
 |
| Danish Dough Mixer |
 |
| Bench Scraper |
 |
| Kettle |
 |
| Banneton |
Baking sourdough bread can be very rewarding because of the effort exuded and the result is SO DELICIOUS! I urge you to give a go. Xo, Becki

No comments:
Post a Comment
I'd love to hear all about your kitchen adventures! Xo, Becki